
How to Install and Run the Codex Testnet

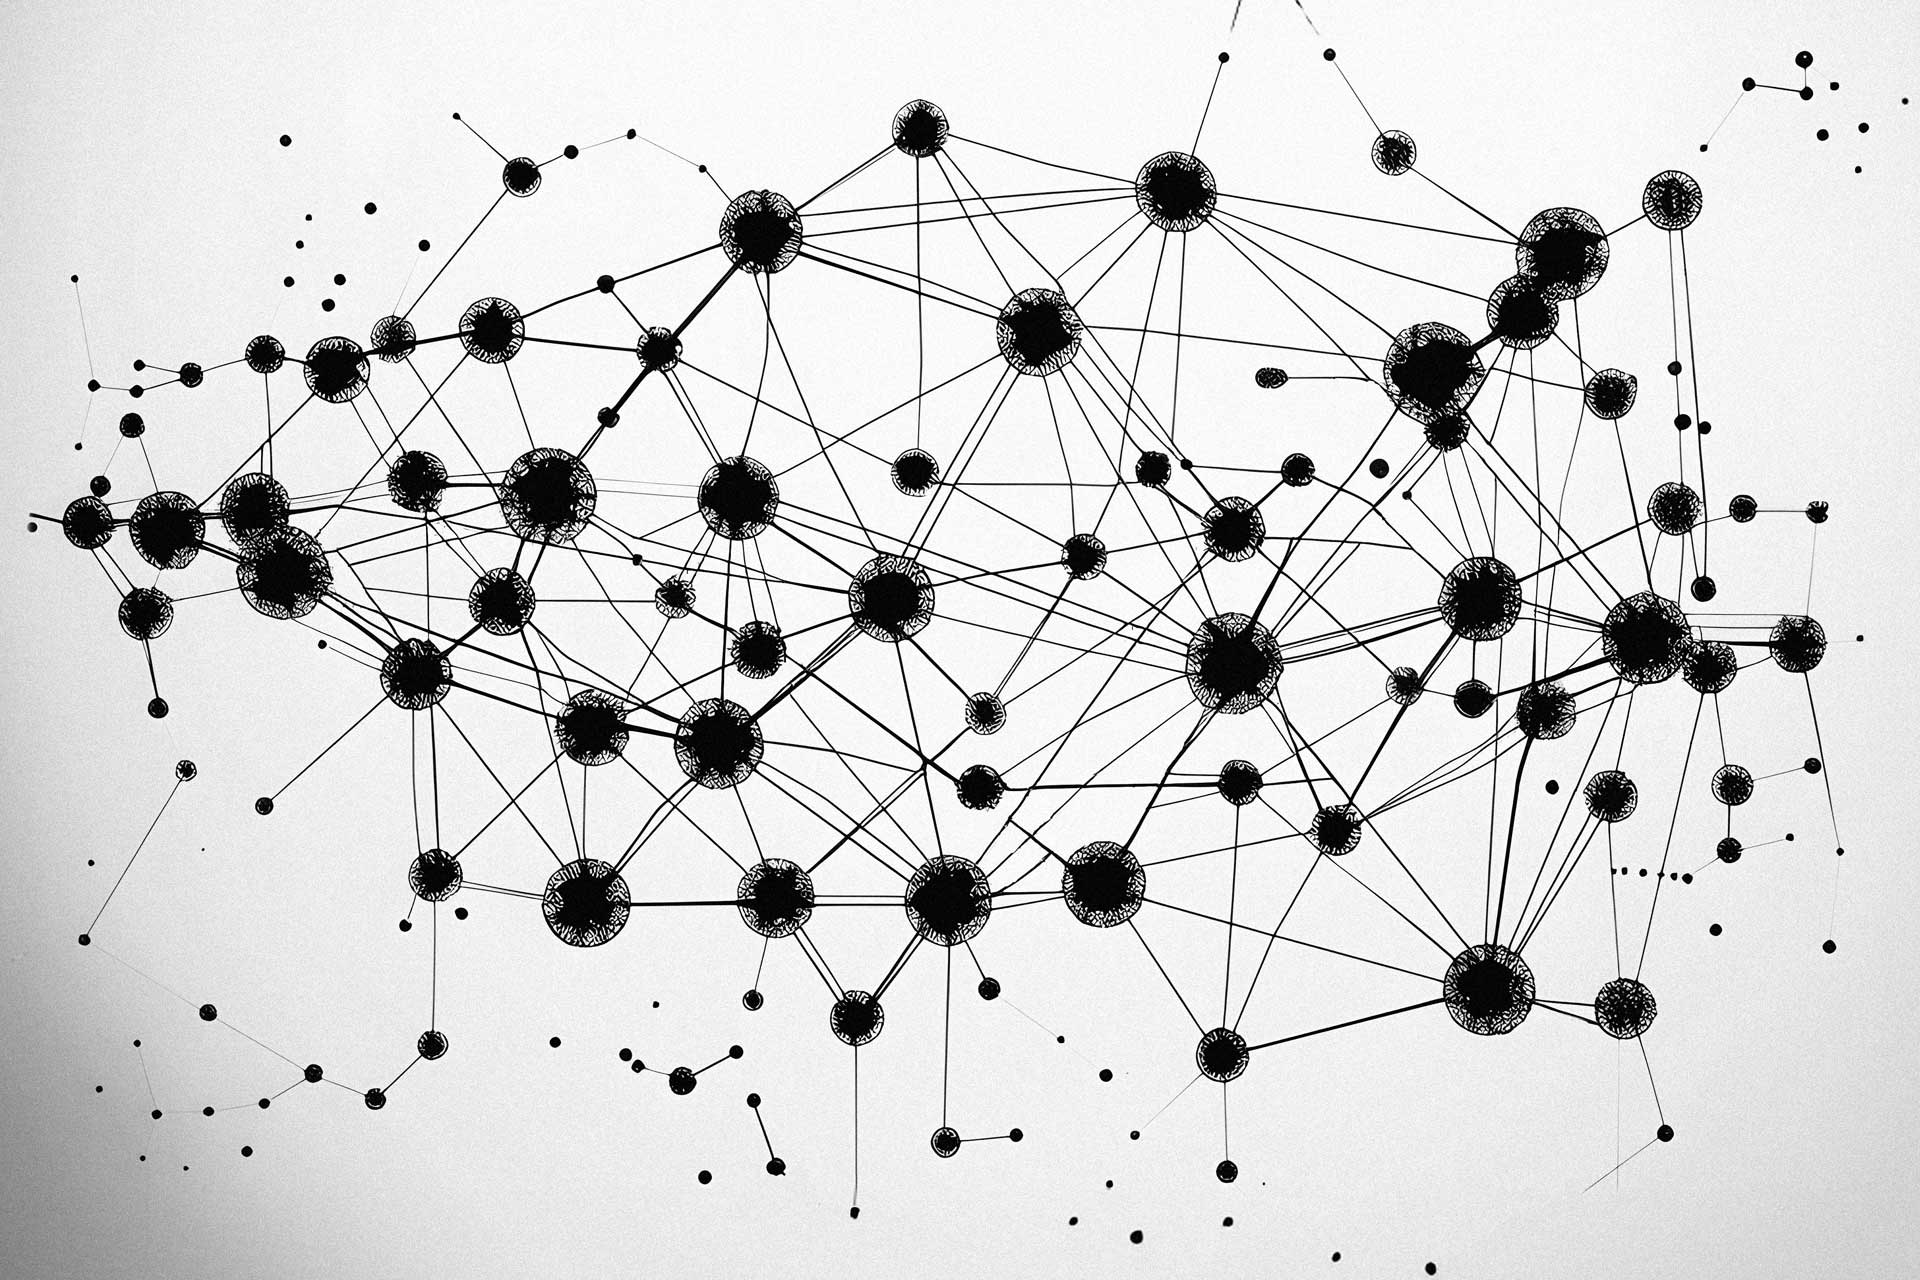
The Codex public testnet is now live, allowing anyone to run a node and contribute to the future of distributed censorship-resistant data storage.Codex is a Decentralised Durability Engine (DDE) designed to offer a robust and censorship-resistant alternative to centralised storage platforms. The peer-to-peer storage network protocol aims to help keep essential data alive and resistant to censorship, hacks, and outages.
To help early pioneers download and install a Codex node and participate in the testnet, we have developed a Command Line Interface (CLI) that makes this process as streamlined as possible.
The Codex Storage CLI offers a simple interface from which you can install Codex, run a node, and upload or download files to the distributed storage network.
Watch this walkthrough video or read the guide below to install and run a Codex testnet node using the Codex Storage CLI:
Hardware Requirements
Before we start, check that your device meets the minimum requirements for running a Codex node in Altruistic Mode, the default configuration delivered by the Codex Storage CLI.
Altruistic Mode - Minimum Hardware Requirements
- Processor: 4 cores @ 1.2GHz (likely can be lowered to 2 cores)
- Memory: 1GB RAM (recommend 2GB for better performance)
- Storage: Enough to support an operating system and download Codex binaries to upload files locally to the P2P network.
In Altruistic Mode, the Codex node supports basic file sharing via manual uploads and downloads on the distributed storage network.
The Codex Storage CLI requires Node Packet Manager (npm) for installation and configuration. If your machine does not have Node installed, visit the Node.js website to download the version relevant to your operating system.
If you encounter any issues during installation, please check the Node FAQs on Discord or ask for assistance in the node-help channel—we are here to help.
Step 1 – Port Forwarding
To enable your Codex node to communicate with the network, you must forward the following ports on your router:
- Port 8090/UDP: Used for discovery, allowing your node to connect with others on the network.
- Port 8070/TCP: Used for data exchange, enabling your node to send and receive files.
If you're unfamiliar with port forwarding, refer to this video tutorial for detailed instructions. Configuring port forwarding ensures your node can actively participate in the network.
Step 2 – Run the Codex Storage CLI and Install Codex
The Codex Storage CLI is a command-line tool that simplifies the process of downloading, installing, and managing your Codex node.
Installation Steps
- Open your terminal or command prompt.
- Run the following command to install the Codex Storage CLI:
npx codexstorage - When prompted, confirm the installation by typing “y” and pressing Enter.
- Once the installation is complete, you’ll see a menu with several options. Use the arrow keys to navigate through the menu and press Enter to select options.
- Select “1. Download and Install Codex” to download the Codex binaries.
- Review and accept the privacy policy before completing the installation.
If you encounter an error during installation, restart your terminal and try again. A lack of permissions for the Codex CLI may cause this issue. To fix this, try running the npx codexstorage command as an administrator or with escalated permissions, for example, sudo npx codexstorage.
Step 3 – Run a Codex Node
After installing the Codex binaries, you can start running your Codex node.
- Open your terminal and type:
npx codexstorage - Select “2. Run Codex Node” from the main menu.
- When prompted, enter the discovery and listening ports, or press Enter to use the default values (8090/UDP and 8070/TCP).
- Enter your ERC-20 wallet address (optional) to qualify for future rewards we may choose to implement for testnet participants.
- Your Codex node will now start running. Keep the terminal window open to ensure the node remains active.
Tip: If the terminal closes unexpectedly, restart the node using the same steps.
Step 4 – Check Node Status and View Information
To ensure your node is running smoothly and verify its connection to the network, follow these steps:
- Open a new terminal window and start the Codex CLI by running:
npx codexstorage - From the main menu, select “3. Check Node Status”. This option provides a summary of your node’s status.
- Select “1. View Connected Peers” to see a list of all peers currently connected to your node.
- Select “2. View Node Information” to retrieve your Node ID.
Note down your Node ID, as it will be helpful later.
Step 5 – Upload and Download Files
With your node running, you can now interact with the testnet by uploading and downloading files.
Uploading Files
- Select “4. Upload a File” from the CLI menu.
- Enter the file path of the file you wish to upload when prompted.
- Alternatively, you can use the following command in your terminal:
npx codexstorage --upload <file-path>
Upon successful upload, you’ll receive a Content Identifier (CID) for the file. Share this CID with the community to allow others to access your uploaded file.
Downloading Files
- Select “5. Download a File” from the CLI menu.
- Enter the CID of the file you wish to download. Alternatively, use the following command in your terminal:
npx codexstorage --download <CID> - The file will be downloaded to your current working directory.
You can find the CIDs of files uploaded by Codex testnet participants in the Codex Discord.
Please note that under the current testnet configuration, files uploaded to the Codex testnet are temporary and will be cleared within 48 hours.
Step 6 - Claim Your Altruistic Mode Role
Congratulations, you are successfully running a Codex testnet node and are an active participant in the testnet! To celebrate your position as a pioneer in the future of distributed data storage, you can claim the Altruistic Mode Role in the Codex Discord by following the steps below:
- Open the Codex CLI and select “3. Check Node Status”.
- Choose “View Node Information” to retrieve your Node ID.
- Go to the #bot channel in the Codex Discord and type the following command:
/node <YOUR-NODE-ID>
You should now be rewarded with the Altruistic Mode role in the Codex Discord, signalling your active participation in the Codex testnet.
Going forward, you can manage your node through the alpha version of Codex Vault, a GUI currently under development for Codex node operators.
Along with the Altruistic Mode role, if you have interacted with the Codex testnet in the last seven days, you will receive an additional Active Participant role on the Codex Discord. If you have not interacted with the network in the previous seven days, this role will change to Inactive Participant.
Please take a few minutes to leave feedback about your experience installing and running the testnet. As an early participant in the Codex testnet, your feedback is invaluable to the team as we build and refine the protocol.
Join the Codex Community
By setting up your node, you’ve taken an active step towards shaping the future of storage technology.
Head to the Codex Discord for the latest updates on Codex and discussions on distributed data storage.
The Codex Storage CLI offers an easy way to install and run a Codex node while sharing node information for testing and monitoring of the testnet, but it is not the only way to get started with Codex.
Users who prefer not to share their node information with the Codex team can visit the Codex Testnet Starter or read the quickstart guide to install and run a node without the Codex Storage CLI.
For additional resources on running and building Codex, check out the Codex Documentation or the Codex Testnet Starter.
Thank you for joining our mission to build a more robust, censorship-resistant, and resilient future of digital data – we’re just getting started.